This is a step-by-step guide to setting up Office 365 OAuth 2.0 authentication for FolderMill Email Settings. Learn how to register an Azure app, configure permissions, and grant FolderMill app-only access to your mailbox without usernames or passwords.

Expert-reviewed: The technical content of this article is entirely human-generated. All step-by-step instructions were manually executed and verified by a human author as of December 2025 to ensure technical accuracy. Reviewed and approved by Leonid Jakobson, Head of the FolderMill product team.
Step 1: Register the Application in Microsoft Azure
- Log in to the Azure Portal.
- In the left-hand menu or in the search bar, select App registrations.
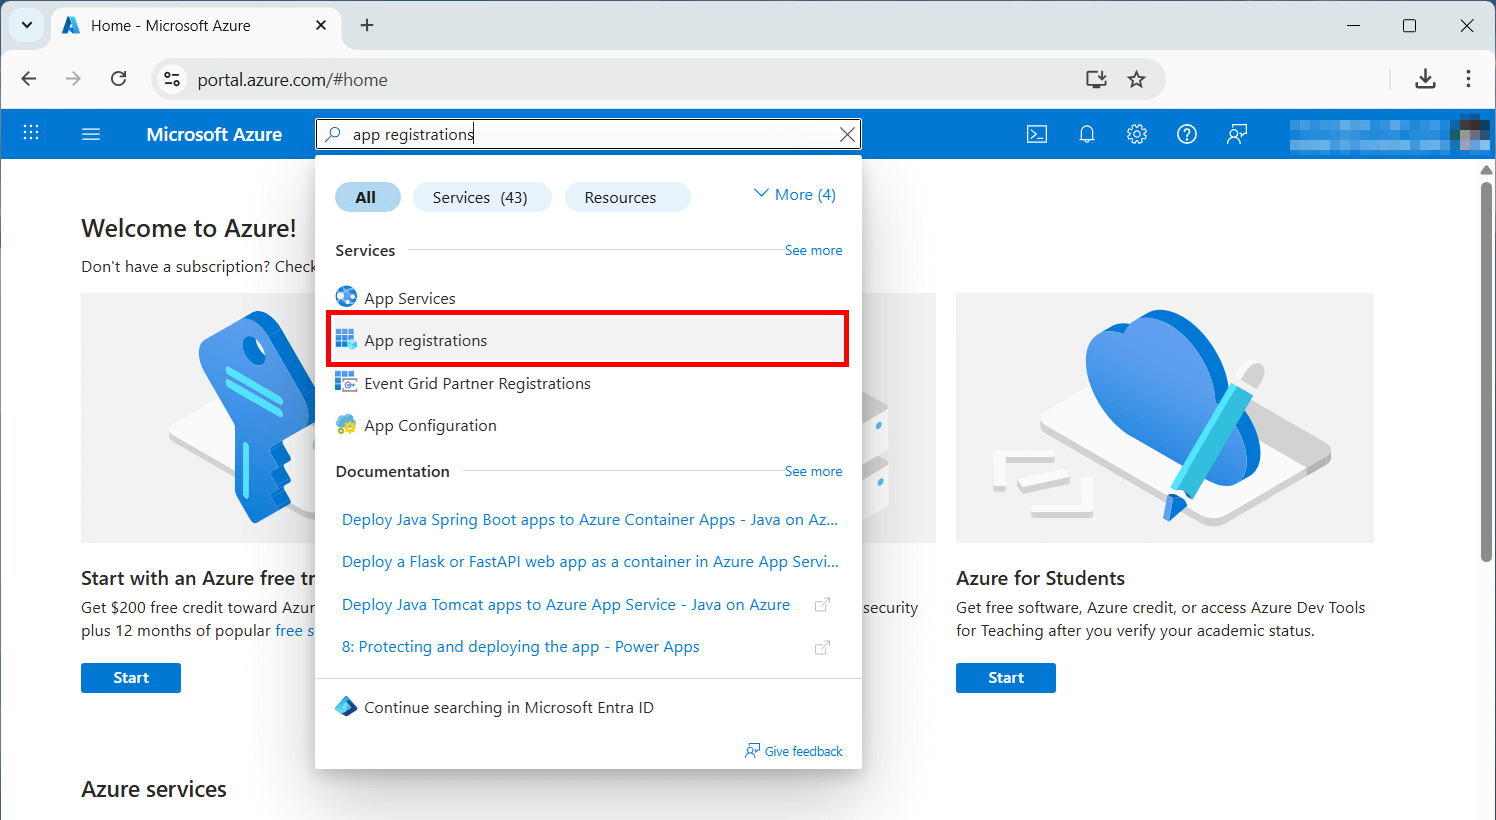
- Click the + New registration button at the top.
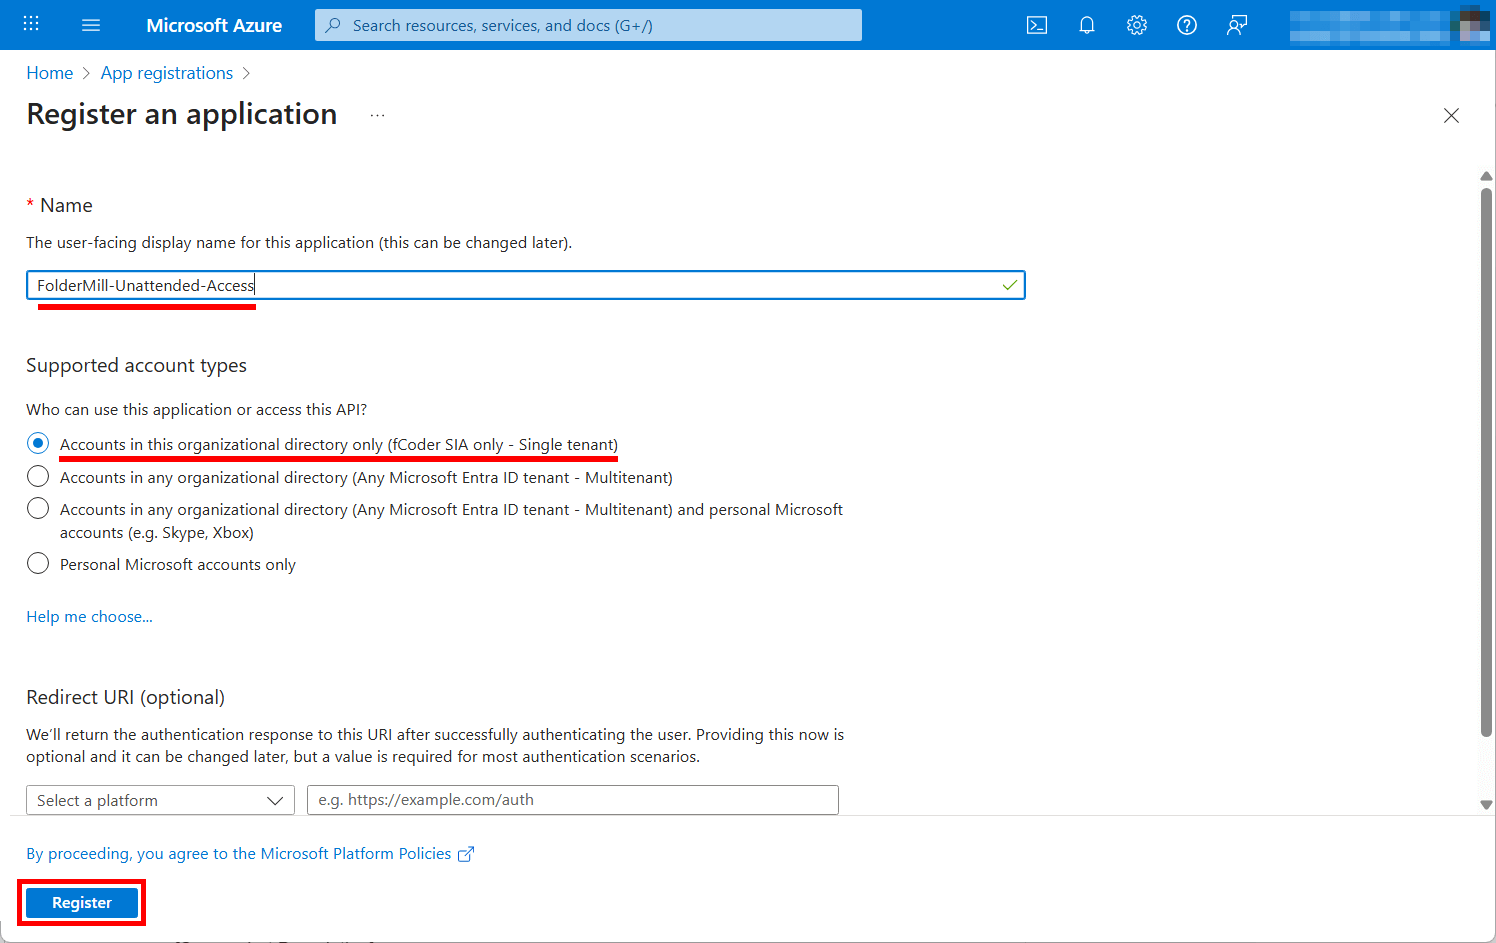
Enter a new name for FolderMill access that you'll easily distinguish. For example, FolderMill-Unattended-Access.
- Supported account types: Select "Accounts in this organizational directory only (Single tenant)".
- Redirect URI: Leave this blank (it is not needed for unattended app-only flow).
- Click Register.

To complete the registration, click Register.
Step 2: Gather Required IDs
You need to gather four values now for configuration of FolderMill access.
- Application (Client) ID (This is your Client ID). <YOUR_CLIENT_ID>
- Directory (Tenant) ID (This is your Tenant ID). <YOUR_TENANT_ID>
- Client Secret ID Value
- Enterprise Application Object ID <YOUR_ENT_APP_OBJECT_ID>
Copy Client and Tenant ID
Once registered, you will be taken to the Overview page of your new app. Copy the Client ID and Tenant ID from here and save them somewhere.

Create a Client Secret ID
This serves as the "password" for your application.
- In the left menu, click Certificates & secrets.
- Click + New client secret.
- Description: Enter FolderMillSecret.
- Expires: Choose a duration (e.g., 24 months).
- Click Add.


A Client Secret Value will appear in the list. Copy this Value to clipboard immediately and save it somewhere.
This is your Client Secret. You may never be able to see it again after you leave this page. Do NOT copy the "Secret ID", copy the "Value".

Get the Enterprise Application Object ID
To register the Service Principal (see Step 4), you will also need an Object ID (Enterprise Application Object ID (<YOUR_ENT_APP_OBJECT_ID>).
To get it, follow these steps:
- On your registered application page, navigate to the Overview tab and click the FolderMill-Unattended-Access link (under Managed application in local directory).

On this page, copy the Object ID value and save it somewhere:

The Object ID on the Overview tab is NOT the one we're looking for.
This is different from the Object ID in App Registrations on the main App registration Overview. You must use the Enterprise App Object ID instead.
Step 3: Configure API Permissions
Configuring API permissions defines what the application is allowed to do.
- In the left menu, click API permissions.
- Click + Add a permission.

- Switch to the tab APIs my organization uses. Search for and select Office 365 Exchange Online.

- Select Application permissions (NOT Delegated permissions).
")
- Expand the lists and check the following:
- IMAP → IMAP.AccessAsApp
- POP → POP.AccessAsApp (Only if you plan to use POP3)


- Click Add permissions.
Next, grant Admin Consent for Office 365 Exchange Online:
You will see a warning stating "Not granted for [Your Organization]".
- Click the button Grant admin consent for [Your Organization].
- Click Yes to confirm.
- The status column should now show a green checkmark saying "Granted for..."

Optionally, you can remove the delegated Microsoft Graph's User.Read permission which is not needed for app-only application — click the context menu on the right side of the permission and select Remove permission.
Step 4: Register Service Principal in Exchange (PowerShell)
Unlike other Microsoft APIs, simply granting permission in the portal is not enough for IMAP/POP3. You must manually register the Service Principal in Exchange Online.
- Run PowerShell on your computer as Administrator. Install the Exchange Online module (if not already installed):
Install-Module -Name ExchangeOnlineManagement

- Connect to your Exchange Online tenant:
Import-Module ExchangeOnlineManagement
Connect-ExchangeOnline -Organization <YOUR_TENANT_ID>
- Replace <YOUR_TENANT_ID> with the Tenant ID you saved in Step 2. Log in with your Admin credentials when prompted.

- Register the Service Principal. Run this command:
New-ServicePrincipal -AppId <YOUR_CLIENT_ID> -ServiceId <YOUR_ENT_APP_OBJECT_ID> -DisplayName "FolderMill Service Principal"


Quick reminder
To find the Application (Client) ID:
Copy the Client ID from the Overview page of your newly registered app. See Step 2
To find the Enterprise Application Object ID:
Go back to your App in Azure Portal → Overview → Managed application in local directory → copy the Enterprise Application Object ID.
- Grant Access to the specific mailbox. This allows the app to access the specific email account you want FolderMill to use.
Add-MailboxPermission -Identity "email@yourdomain.com" -User <YOUR_ENT_APP_OBJECT_ID> -AccessRights FullAccess
(Replace email@yourdomain.com with the actual email address FolderMill will check).

Step 5: Configure FolderMill
Now you have all the data required for the Oath 2.0 authentication in order to use FolderMill's Send to Email Action or set up Email as Source.
- Open FolderMill Control Panel.
- Navigate to the Hot Folder Settings → Source: Email → Configure… or Send to Email Action, depending on where you are configuring the email connection.
- Select Authentication Method: Choose OAuth 2.0 (OAuth20). Enter values for Client ID, Client Secret Value, and Tenant ID using the data gathered.
| FolderMill field | Value to enter | Source |
|---|---|---|
| Client ID | Application (Client) ID <YOUR_CLIENT_ID> | From App Registration Overview |
| Tenant ID | Directory (Tenant) ID <YOUR_TENANT_ID> | From App Registration Overview |
| Client Secret | Client Secret Value | From Certificates & Secrets → Value |
- Test the connection. It should now connect successfully without asking for login credentials.
 and test the connection")
Note: OAuth 2.0 authentication does not require entering a username or password.
If everything is set correctly, the green "Test email was successfully sent…" message will be displayed:

For Email as Source, use:
- Authentication: OAuth 2.0
- Incoming server: outlook.office365.com
- Port: 993
For Send to Email Action, use:
- Authentication: OAuth 2.0
- SMTP server: smtp.office365.com
- Port: 587
You may also like to read:
How to Print or Convert Emails with FolderMill (Using Email as Source)