This article describes how to install a generic in order to send files containing ZPL commands directly to the thermal label printer.
If your labels, barcodes, or packing slips are in plain text format, you can "raw print" them – by sending ZPL code directly to your label printer.
Installing the Generic Text Printer Driver for the Zebra or similar type of label printer will allow you to print ZPL directly from Notepad. This print driver supports all ASCII characters and most characters of other character sets, so you will be able to send text files like ZPL, TXT, or PRN containing the code. There will be no modification or file conversion to any other format in the middle of the printing process.
Installing Generic Text Printer Driver in Windows (Generic / Text Only)
To install the Generic Text Printer Driver in Windows, follow the steps below.
Depending on your operating system version, the screenshots below might be different from what you see. The screenshots have been taken on Windows 10.
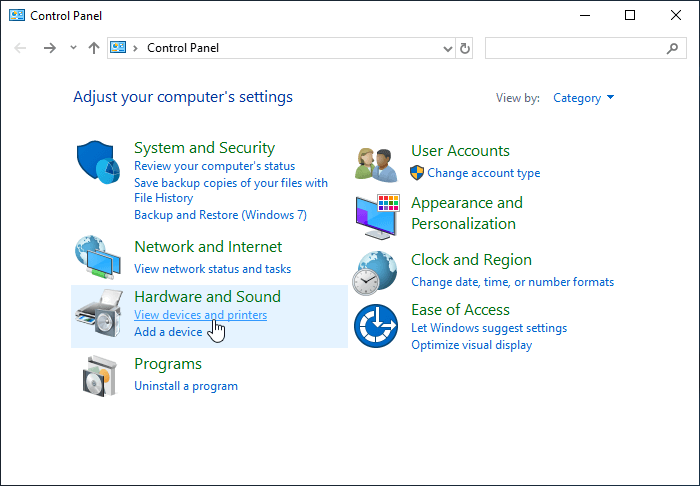
- Open Control Panel in Windows;
- Go to View devices and printers;

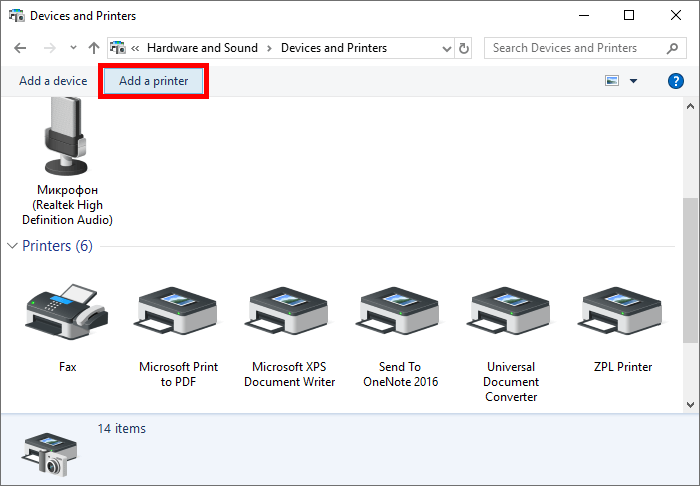
- Click the Add a printer button;

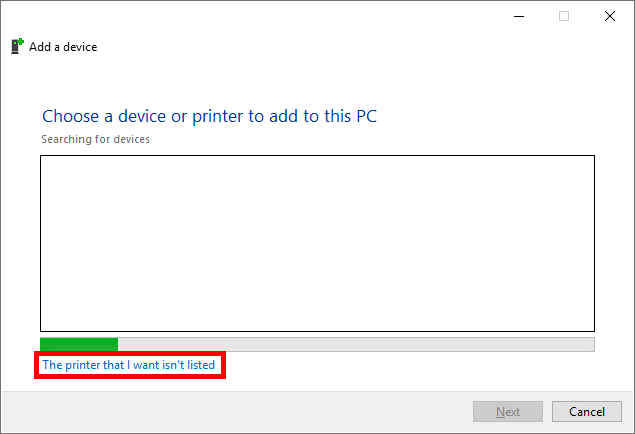
- Select The printer that I want isn't listed option;

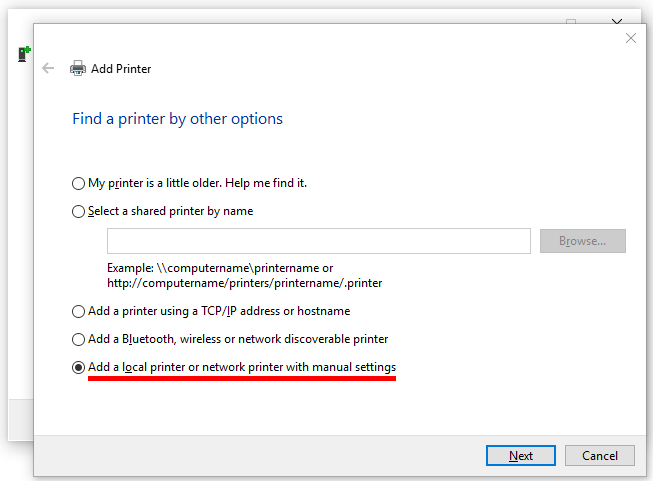
- Choose Add a local or network printer with manual settings and click Next;

- Select "Use an existing port" and choose the same port where your label printer is already installed. To check which port is used to communicate with the printer, open the Control Panel > View devices and printers > right click on the printer, open the "Ports" tab and check what port is being used;
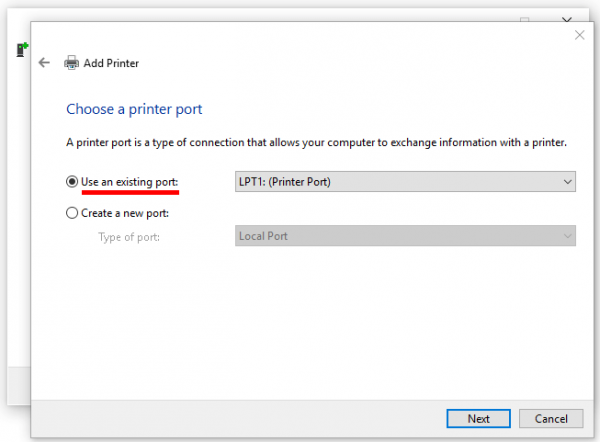
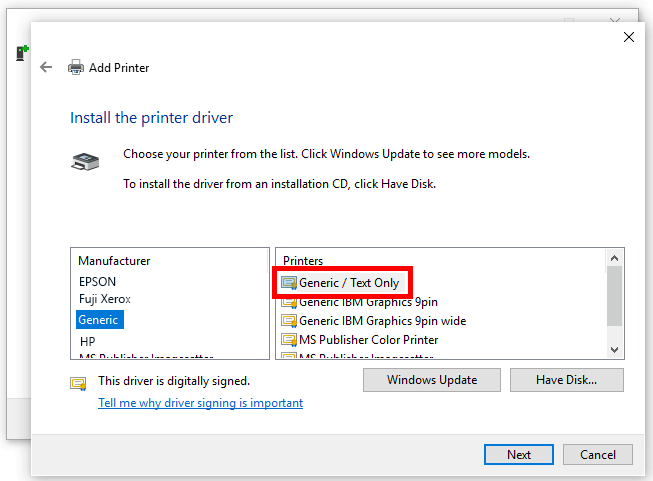
If it is not listed in there, select "Create a new port" and select the "Type of port" needed from the drop-down menu. For a network printer, select "Standard TCP/IP" > "Next" > enter the IP of the printer in the "Hostname or IP address" field and click "Next".- Select Generic and Generic / Text Only. Click Next;

- If a "Which version of the driver do you want to use?" dialog appears, select Use the driver that is currently installed (recommended);
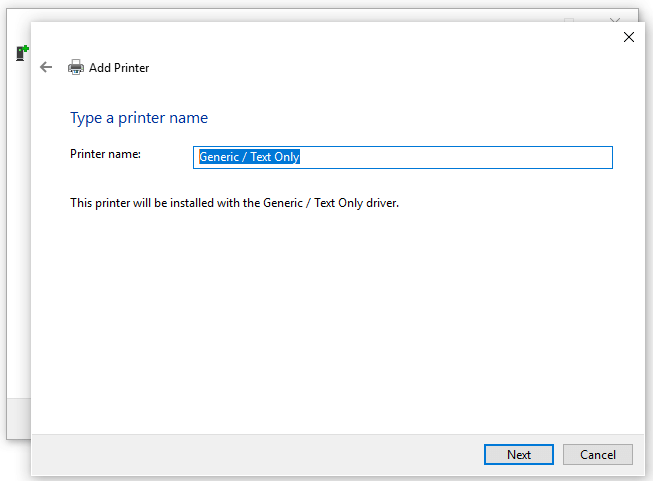
- Keep the name as is or change if desired;
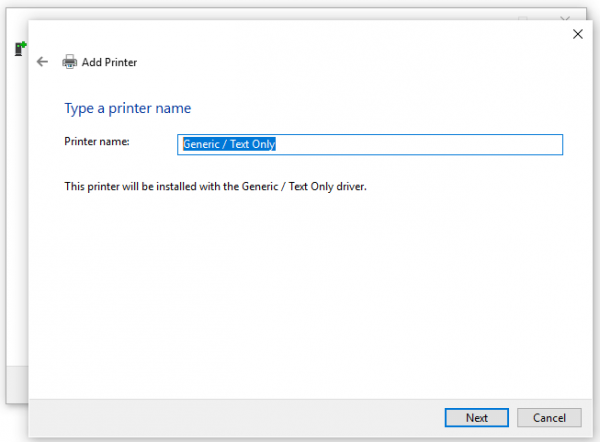
For your convenience, you can name it "ZPL Printer Text Only", for example. Choose a name that you can easily remember.- Choose whether you wish to share the printer. In our case we choose not to;
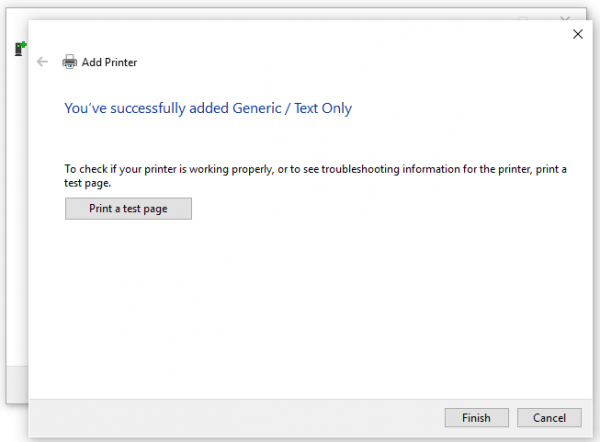
- The final screen in the wizard is displayed. Click Finish;
- To verify the correct work of the printer, use a test script with a printer command language appropriate to the printer. For example, you can try this simple ZPL code for testing:
^XZ
^FO50,50
^FDThis is a test
^XZNow there are two printer drivers installed for the same label printer, and you can use the Generic / Text Only driver to automate "raw printing" of ZPL labels created in a text editor.
Finally, set up automated monitoring and printing in real-time with FolderMill. Just select the new driver as a printer when configuring Print document Action:

- Click the Add a printer button;